Thursday, July 28, 2011

Classroom Craftiness

As promised...I am going to post some of the things I've made for my classroom and a few other classroom related pics.  I would love any feedback you can give me, additional ideas, etc.  When I'm back at school getting everything set up, I will post completed pics.  I can't help myself....I have to decorate my classroom in a theme.....and I like it to coordinate....part of my teacher OCD, I suppose.  :-)  This year's theme will be polka dots, more specifically, dots on chocolate (I'm using a lot of the Creative Teaching Press Products), and throwing in a few owls here and there.  I figured the owls would fit in......plus they're so darn cute!  :-)

This first picture is of the labels I will put on the student cubbies.  I made one for each cubby 1-30.  Each student is assigned a number.  When they put their names on things, they also write their number....it just helps me with organization and helps so I don't have to remake labels every year for files and such.


For these tags, I used the following:
-Creative Teaching Press Frame Cut-outs
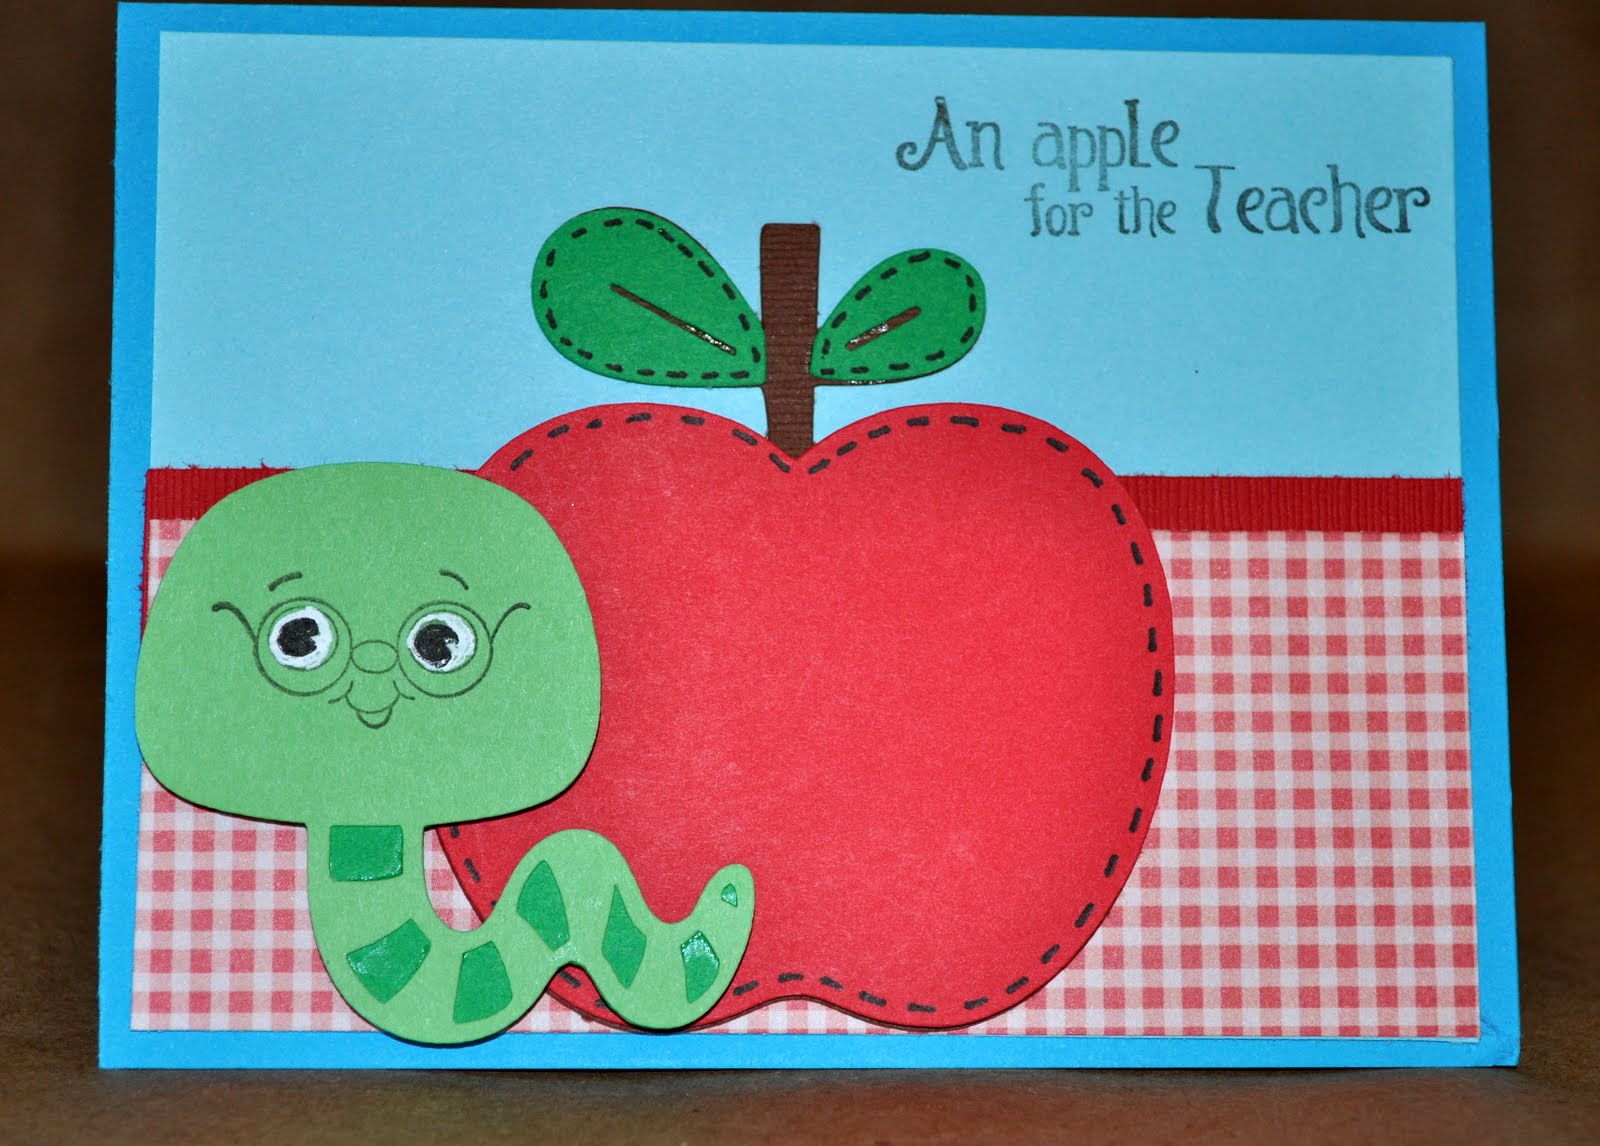
-Cuttin' Up Cartridge-cartoon cut at 4"

This next picture is of the letters I'll use for my word wall.  I did all of the consonants in blue and the vowels in pink.


For these dots I used the following:
--Plantin Schoolbook Cartridge for the circles---shadow cut at 4", regular circle cut at 3"
-Cuttin' Up Cartridge for the letters--cut at 2"

This next picture is a poster I made.  I found this cute acrostic saying on a proteacher.net message board when I was searching for bulletin board titles with a polka dot theme.  I instantly fell in love with this!  I'm hoping to train my kiddos to say the poem after I prompt with "DOTS."  Cute, huh?!?!?


For this poster I used:
-Creative Teaching Press Dots on Chocolate posterboard
-Plantin Schoolbook Cartridge for the circles--cut at 4"
-Cuttin' Up Cartridge for the letters--large letters in the circles were cut at 3 3/4" and the rest of the letters were cut at 2 1/4"
          -I then used my Creative Memories punch to punch out different colored circles to add to the large letters.....these were cut at 3/4"

This next picture is of a poster with pockets labeled with numbers.  One way I keep my classroom library organized is by having these pockets.  Each student has a pocket (again, their number).  In each pocket will be 3ish sticks with a dot on top (also labeled with their number).  Each of my library baskets is labeled and has a pocket on the front of the basket.  I don't have a pic of that yet, but I will soon.  So...the student takes their dot stick and when they find a book they want to read, they put their stick in the pocket of the basket they took the book from.....that way when they go to return the book, they remember where they got it from.  Does that make sense???


For this poster:
-posterboard
-Dots on Chocolate library pockets

I like to use daily take home folders in my classroom.  I have found over the past 11 years of teaching (wow!  I can't believe it's been that long) that regular 2 pocket paper folders NEVER hold up.  So, I splurge and purchase the plastic 2-pocket folders for my students.  I tried this for the first time last year and they held up the ENTIRE YEAR!  LOVED IT!  There are a lot of cute acronyms for folders....I have found a variety of names for folders through proteacher.net. I think the original idea was a M.O.O.S.E. binder.   I don't have the money to create binders for my students, so I just stick to folders.  Plus....it works for me.  A lot of websites you can print folder / binder covers, but I knew the paper would never stick with glue to plastic.  So....I made my own and printed them on 2x4" labels.  The inside will have labels on each pocket....on the left.....Left at Home.....on the right....Bring Right Back to School.


This next picture is just a super cute lamp that had a kind of dot-ish type feel to it....and I love the color.  I'm thinking it will fit right in!  Classroom library maybe???  I got it at Target.  I think they're on sale this week for $12.


So I HAD to make a few owls.....they are so cute....I think I'm going to hang one in my classroom library.  I might have to make a few more and hang them about the room.  :-)

For these cute little critters, I used:
-Create a Critter---cut at 11 1/2"

And now for classroom pics.  I was able to get into my room on Monday, even though the carpet hasn't been cleaned and the tile still needs to be done.  But....I got in and decided to take a few shots to share.  Our classrooms are L-shaped, so bear with me as I explain.

View as you look in through the door.  Sink / cabinets directly to your right.  SMARTboard just beyond that.

This is the back part of the L-shape.  Classroom library will be in back left-hand corner.  My small group table will go right near the white board (I think).

View of the cubbies and a learning wall.
View of the front of the room from the back.


Well...I think that's all for today.....thanks for hanging in there with my super long post today.  :-)  Feel free to leave any comments / suggestions / ideas you might have.

Wednesday, July 27, 2011

Christmas Barn Star

I am so sorry I've been slacking on the blog posts....I've been reading blogs, just not writing.  In my last post I said I was busy working on making things for my classroom....I'm still working on them and have yet to get the pictures uploaded to my computer.  I promise they'll be up soon.  In the meantime, I had a friend on Facebook ask me to post a picture of my Christmas barn star.  I think the paper I used on this barn star was Bo Bunny.

The directions for this barn star are the same as the patriotic barn star, with one further step.
1.  I used tracing paper to trace one of the points of the star.
2.  I transfered the tracing paper onto a file folder (so it was sturdier).
3.  Use the tracing template to trace each part of the barn star.  Cut them out.
4.  I used Mod Podge to adhere the paper to the barn star.  Make sure the smooth out the paper.  It tends to want to bubble if you don't.
5.  Let it completely dry.
6.  Seal the paper with another coat of Mod Podge.  Let dry.
7.  Then...I used E-6000 to glue a smaller barn star on top.


I am off my foot for a couple of days, so I'm hoping to get started on my Hawkeye barn star.  Football season will be here before we know it!


Have a wonderful night!


Monday, July 25, 2011

Weird....I know....

I can't believe how fast this month has flown by, and I'm sure August will be just as fast.  I'll be back in the classroom before I know it.  August will be filled with my youngest son going to his first year of church camp and my older son playing in two soccer tournaments, as well as 4 days in Summer Institute classes and a leadership team meeting.  I have recently been reading a lot of teaching blogs on top of the crafting blogs that I frequently visit.  Many of the teachers that have teaching blogs are starting to get their back to school stuff and have begun to prep for the school year.  Even though I don't officially start school until September 7, I have been completely inspired by these bloggers.....I, too, as weird as it sounds, have started to get some things ready for school.  Yesterday, I spent a lot of my day at my cricut making things for my classroom.  I have always decorated my classroom in a theme.  Last year I did the Hollywood theme and toyed with using that theme again, but I just couldn't do it.  Am I crazy???  So....this year I have decided to do a polka dot theme.  I really like the Dots on Chocolate that Creative Teaching Press created.  This was the inspiration for decorating my classroom this year.  I am hoping to get the pictures of what I have created so far posted soon.  :-)  I can't wait to share the couple of things I did make for the classroom.   
Have a great night!

Thursday, July 21, 2011

Greetings from Seattle

Greetings from Seattle!  The weather all over the nation has been kind of whacky lately.  My thoughts are with my family and friends dealing with the heat and humidity in the midwest.  I can't imagine having to deal with that.  I'll take my Pacific Northwest weather!  :-)  That being said....the Pacific Northwest hasn't been ideal for summer weather either.  Usually our summers are fabulous!  We have sunny days and comfortable temperatures with no humidity.  Well....this year has been the exception.  While my family and friends are frying in the midwest, we have had unusually cool (like I'm under a blanket cool) and rainy days.  :-(  BOO!  So...I found this really cute image in my Create a Critter cartridge that I wanted to use to make a Seattle themed card.  Here it is....


Recipe for this card:
A2 sized card
Patterned Paper & light blue cardstock cut at 2 1/2 inches
Duck on p.31 of Create a Critter cut at 3 inches
Umbrella on p. 31 of Create a Critter cut at 3 inches
Peachy Keen Critter Faces for the Duck
Peachy Keen Everyday Character Faces for the Umbrella
Greetings from Seattle Stamp from AMuse Art Stamps

**I used my gypsy to remove the faces for both the duck and the umbrella so I could use my Peachy Keen Stamps.

Well...I hope everyone is having a wonderful day!


Wednesday, July 20, 2011

My First Blog Award!!!

I was so surprised today by one of my new followers / friend named Pam.  She decided to award me with a very nice blog award.  I am so excited!  It completely made my day!  If you haven't checked out Pam's blog, you need to!  She is a very talented crafter....I just LOVE her new hippo card.  :-)  Please go and check out her blog...www.craftycards4u2.blogspot.com

To accept this award, you are to give 5 facts about yourself and then pass it on to 5 friends.

Facts:  
1.  My favorite color is pink.
2.  Skinny Vanilla Latte is my favorite Starbucks drink.
3.  I probably have more scrapbook paper than I need.
4.  I can never just make one card....I have to make a few to have on hand.
5.  My favorite treat to eat when I'm crafting is Peanut Butter M&Ms.

Here are the blogs that I'm passing this award on to.  Make sure you check their blogs out!

I hope everyone has a good night....hopefully I can get my latest card posted tomorrow!  It's so super cute!


Tuesday, July 19, 2011

Very Hungry Caterpillar

It has been a very busy couple of days at my house.  This week at our church is VBS.  My oldest son and I are volunteering and my youngest son is a participant.  I am having so much fun helping to lead the music at VBS, but quickly found out yesterday how tired I can get.  Whew!  Both Nathan and I came home and slept for a couple of hours.  Despite all the busyness, I did get my nephew's birthday banner done!  Yay!  My newphew is turning 1 next moth (I can't believe it!).   My brother and sister-in-law have decided that they want to have a Very Hungry Caterpillar theme for the party.  So....I created a birthday banner for him.  I am so excited...it turned out so cute!

This first banner is of his name and is meant to be on his high chair, across the front of the tray.

Recipe for this banner:
Birthday Bash Cartridge for the banner pieces
Create a Critter Cartridge for the caterpillar....on the cartridge I used the worm image.  I cut out all of the pieces, and then added another layer on top to make the head red.
Mickey Mouse Font Cartridge for the letters


This next banner is the Happy Birthday banner for the wall.  I cut the banner pieces larger for this banner since it would be hung on a wall.


Recipe for this banner:
Birthday Bash Cartridge for the banner pieces
Create a Critter Cartridge for the caterpillar
Mickey Font Cartridge for the letters


I hope everyone is having a wonderful day!  Leave me a comment and let me know what you think of the birthday banner!

Thursday, July 14, 2011

Iowa Hawkeyes Card....and a couple of others.

Last night I was feeling all crafty and wanted to use a couple of stamp sets that I bought while I was in Iowa in May.  I found these at a little scrapbooking store in Des Moines called Heirlooms By Design.  Here is a picture of the stamp sets I bought...
I've been really excited to use these and decided last night to play around with them.  I love the card I came up with.  I showed my husband and oldest son since they are two of the BIGGEST Hawkeye fans around.  The response I got from my husband was....

Hustband:  That's cool.....now who are you going to give it to??
Me:  Really??  ( I start thinking....)
Me:  A frienemy!  :-)  a.k.a. someone I know who is a dear friend / sister-in-law (I heart u!), but unfortunately likes Iowa State (Boo!). (Insert evil laugh here.) I anticipate a card going in the mail for the Iowa / Iowa State football game in September!

So...here it is....

 Don't you think this is a perfect card to send to a fan on the opposing team?  What do you think??

And...since I'm on an Iowa kick....I remember telling you about my brother & sister-in-law's wedding back in May.  I made them a really cute banner to hang in their house.  I forgot to post the card that I made to go with it.  This card was super easy....simply just paper I found that had the Damask look that they used in their wedding and a flower / brad.  The stamp I used is from A Muse Artstamps .


Finally....this last card is a card I made as thank you notes to have on hand at school.  For this card, I used the Preserves cartridge.


That is all for now.  I hope you enjoy these cards.  Leave me a comment and let me know what you think!

Have a great day!

Wednesday, July 13, 2011

Monster Birthday Card and Teacher Card

The past couple of days have been quite busy.  Yesterday I decided it was time to organize some photos and get them sent off to Costco to be printed.  I think it's almost been a year since I've completed a scrapbook layout.  Ouch!  I have to put that on my list of things to do this summer.  Today, I went to Costco to pick up the pictures, which turned out wonderful!  I got home and decided to steam clean my carpet (don't ask me why).  As I was cleaning, I got this sudden urge / nudge to steam clean the stairs (again, don't ask me why).  Cleaning stairs is such a tedious task.  I really HATE steam cleaning stairs.

Okay....on a happier, craftier note...here are a couple of cards I made this week.

This first one is a card I made for my nephew's birthday.  I can't believe he's going to be 6.  Wow!  So....I've had my Mini Monsters cartridge for a while and haven't really done anything with it yet.  I also have a cute monster stamp set I found at Michael's.  I decided to put the two together for this card.  The paper I used is from Reminisce


This next card I made just because I was feeling all teachery (is that a word?).  I like to have cards ready for my boys' teachers or teachers at my school that I like to surprise every now and then.  For this card I used the Create a Critter cartridge.  I used my Gypsy to delete the face of the worm so I could use my Peachy Keen Critter Faces stamp sets instead.  I also deleted the face of the apple, but decided not to put a face on it this time. The sentiment came from the Our Teachers stamp set from Pink By Design.


That's all for now......leave me a comment and let me know what you think!

Tuesday, July 12, 2011

Strawberry Freezer Jam---Yum!

I love when strawberries are in season.One of my favorite treats to make is Strawberry Freezer Jam.  It's super easy to make.  I just buy the Sure-Jell Fruit Pectin, which usually has an easy recipe with directions inside the box.  For this batch, I used 4 pt of strawberries, which is a double batch of jam.  It took me maybe 15 minutes to make up the whole batch and put them in their containers.  I used my mini food processor to mash the strawberries, even though they recommend using a potato masher.  I was just careful to not over-process the strawberries so they were still a little chunky. I also wanted to try using a different kind of container.  In the past I have used the Ball canning jars, but I get completely annoyed about storing them until the next year.....there never seems to be a neat / organized way to store jars without them taking up all of my cabinet space.  So...I decided to use stackable freezer safe Glad containers this year.  Hopefully they will do just as well as the jars did. 

In the end, this double batch yielded 12 containers of strawberry jam.  I think we'll have plenty until next summer and will even be able to share with some friends.  

Monday, July 11, 2011

Patriotic Barn Star

When I was in my "let's make decorations for the 4th of July" mood, one of the projects I wanted to do was to Mod Podge a metal barn star in a patriotic theme.  I have already done a Christmas Barn Star, so I already had the template for the paper pieces already made.  To make this, I first used tracing paper to trace one of the point sections of the star.  I then transferred it to a file folder to cut out as my tracing template.  I traced the pieces of paper and cut them out, followed by inking the edges with a brown ink to give it an aged look.  I then applied Mod Podge to one section of the barn star and put the paper on top.  One thing I noticed the first time I covered a barn star was that it will bubble if you don't smooth out the paper.  After all of the pieces are on the barn star, it will need to dry completely.  Once it is dried, you can add another layer of Mod Podge on top of the paper.  This will seal the paper and give it a little shine.
Next on my list of barn stars is an Iowa Hawkeye Barn Star to decorate my house during college football season.

Leave me a comment and let me know what you think!

Enjoy!

Saturday, July 9, 2011

4th of July Cake Pops

I bought a book about how to make cake pops over a month ago.  It has been one of my summer "to-do's" to learn how to make these.  I decided I would try making them for the first time this 4th of July.  What a better time, right???  Anyway....since it was my first time making these, I decided not to use the WHOLE cake....I cut it in half (which yields 24 cake pops) and froze the unused half for another time.  It really was pretty simple.  I think the hardest part for me was figuring out how much chocolate to melt and which type of bowl would be deep enough to completely submerge the cake pop just once.  I am glad I only tried to do simple ones the first time...I think my next attempt will be for Nathan's soccer team....maybe soccer balls.


Here is the website you can go to to see more cake pop ideas:
www.bakerella.com

Thursday, July 7, 2011

Cards

Here are some of the cards I've made over the past year or so.  Many of them were created using my Cricut.  Some were inspired by magazines or other crafters.
Cartridge Used:  Everyday Paper Dolls


Cartridge Used: Just Because Cards


Cartridge Used: Life is a Beach

Cartridge Used: Winter Wonderland


Cartridge Used: Preserves

Cartridge Used: Everyday Paper Dolls


Cartridge Used: Create a Critter

Cartridge Used:  Create a Critter

Cartridge Used:  New Arrival