Showing posts with label Mini Monsters. Show all posts

Sunday, October 30, 2011

Spooky

I have been seriously slacking on the blog lately....not by choice, though.  School has started and I have 27 cherubs in need of some love and interventions, as well as my own two cherubs at home.  Oy!  Does it ever get easier??  I have done some crafting here and there.  Today I'm going to share a couple of the decorations I've made for my home for Halloween.  Halloween is not one of my favorite holidays to decorate for.  My boys LOVE spooky / scary decorations....I don't.  I prefer cute fall-looking decorations.  So here's what I came up with for this year. 


This picture is horrible, I know...I took it with my phone....ugh!  Anyway... I used the following materials to create this card:

Mini Monsters Cartridge--2"
My Pink Stamper Spooky Puns stamps


Halloween Barn Star:
-For this, I used a small barn star.  I created a tracing template in order for my paper cut outs to fit perfectly.

Halloween Centerpiece:
This is a pinterest-inspired project.  I found this on pinterest and just had to make one.  I followed the original creators directions on layering the candies and filling in the middle with marshmallows (saves a lot of money on candy).  Instead of using halloween themed lollipops and rock candy sticking out the top of the centerpiece, I decided to use my cricut to create little toppers to stick out.

Simply Charmed Cartridge:
Ghost: 3"
Pumpkin: 3"
Boo: 2"


Boo & Spooky Banner:

For the BOO letters, I bought the cardboard letters that you can find at JoAnn's.  I painted the outside edges and the inside edges black.  I then traced the letters onto Halloween paper and mod-podged it to the cardboard letters when they were dry.  I did not go over the top of the paper with mod podge because the paper had a texture on it (the green with the spider webs).  I didn't want the effect of the web to be lost.

For the Spooky Banner I used the following:

Birthday Bash Cartridge for the banners:  cut at 6 1/2"
Simply Charmed Cartridge:  Bat cut at 4"
Alphalicious Cartridge:  Letters cut at 5"--letters were inked with black ink to add dimension


Behind each of the letters, I hand-made the paper-folded rosettes.  I cut 1 1/2" x 12" strips and then scored them every 1/4" folding them back and forth like a fan.  I hot-glued the ends together and then added hot glue to the middle, holding until it dried.  I then placed the green circle on top.


I hope everyone has a wonderful Halloween!  I will do my best to start posting more often.  :-)

Susie

Wednesday, July 13, 2011

Monster Birthday Card and Teacher Card

The past couple of days have been quite busy.  Yesterday I decided it was time to organize some photos and get them sent off to Costco to be printed.  I think it's almost been a year since I've completed a scrapbook layout.  Ouch!  I have to put that on my list of things to do this summer.  Today, I went to Costco to pick up the pictures, which turned out wonderful!  I got home and decided to steam clean my carpet (don't ask me why).  As I was cleaning, I got this sudden urge / nudge to steam clean the stairs (again, don't ask me why).  Cleaning stairs is such a tedious task.  I really HATE steam cleaning stairs.

Okay....on a happier, craftier note...here are a couple of cards I made this week.

This first one is a card I made for my nephew's birthday.  I can't believe he's going to be 6.  Wow!  So....I've had my Mini Monsters cartridge for a while and haven't really done anything with it yet.  I also have a cute monster stamp set I found at Michael's.  I decided to put the two together for this card.  The paper I used is from Reminisce. 


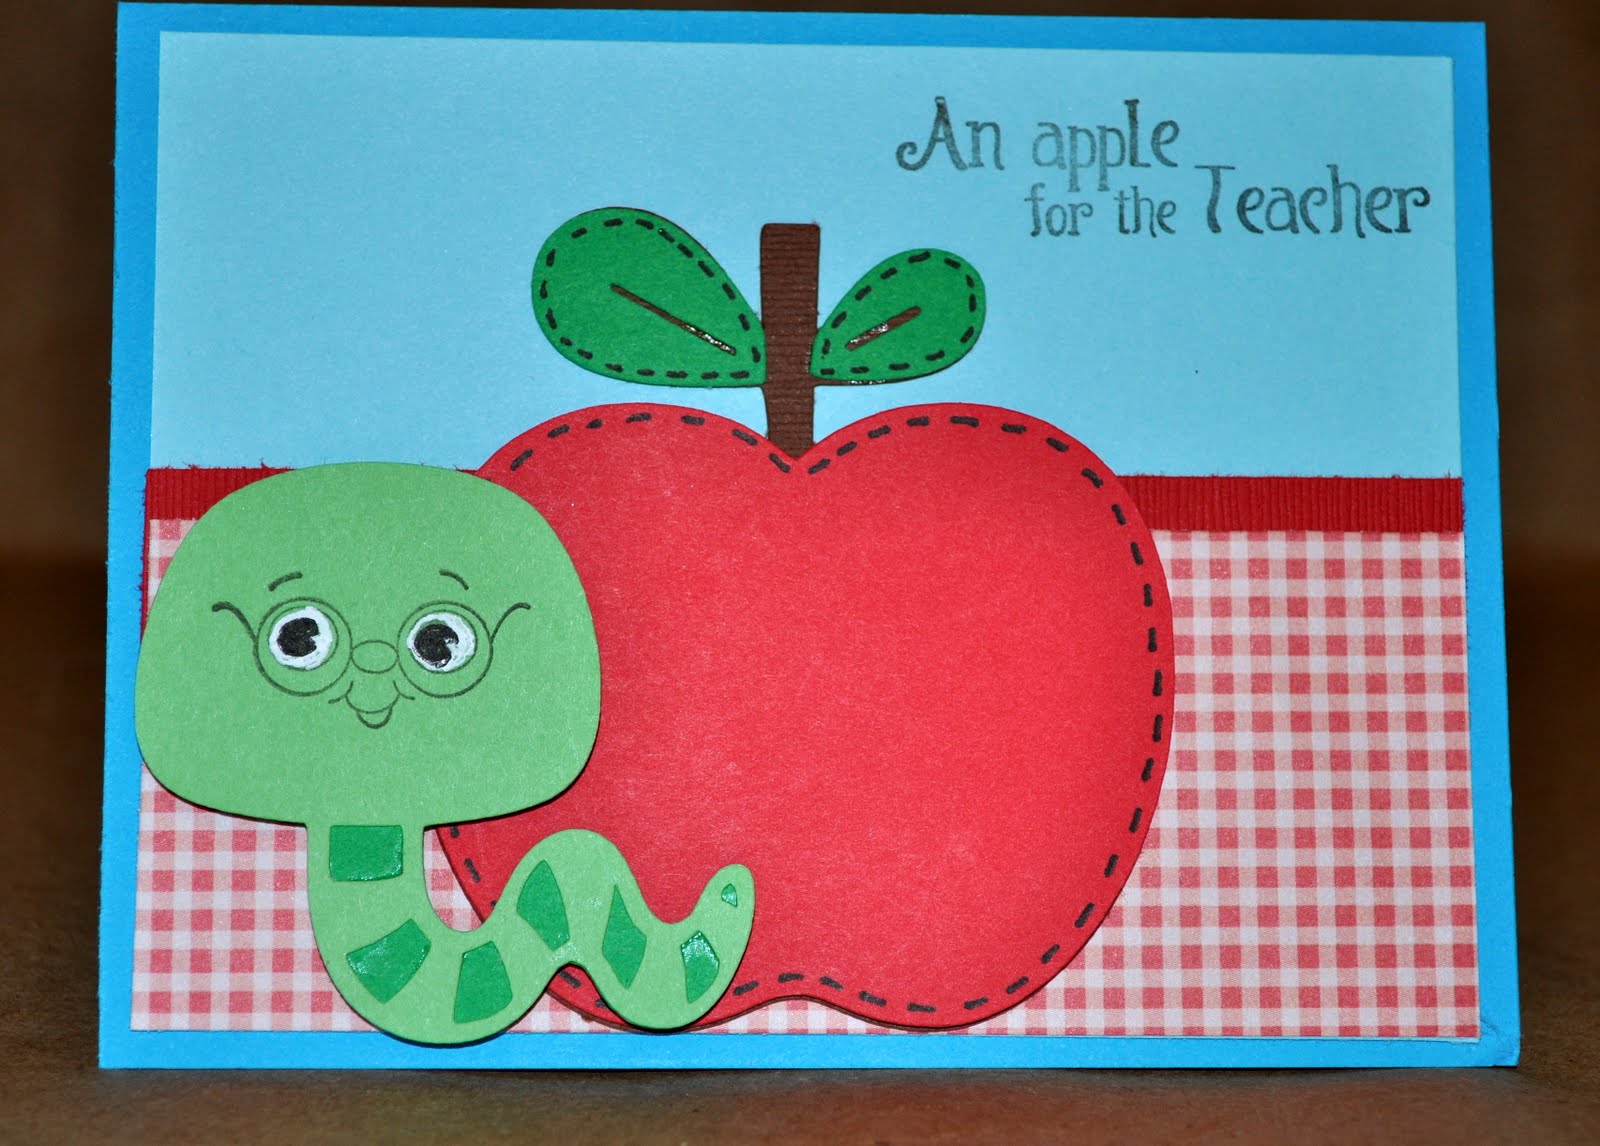
This next card I made just because I was feeling all teachery (is that a word?).  I like to have cards ready for my boys' teachers or teachers at my school that I like to surprise every now and then.  For this card I used the Create a Critter cartridge.  I used my Gypsy to delete the face of the worm so I could use my Peachy Keen Critter Faces stamp sets instead.  I also deleted the face of the apple, but decided not to put a face on it this time. The sentiment came from the Our Teachers stamp set from Pink By Design.


That's all for now......leave me a comment and let me know what you think!